
Growing a cocktail Garden: Part 1
April 18, 2014 -- Published by Tara ShinnSummer cocktails require fresh ingredients, and you can’t get any fresher than plucking them from your own backyard, so why not spend a little time now (and save a lot of money later!), by planting your very own cocktail garden!
Step 1: Find your Zone

It is imperative to find out what growing zone you live in so that you can determine when is the optimal time to start planting your cocktail garden. Ideally, there should be no threat of any more freezing temperatures or frost. Here is a general breakdown of last expected frost dates based on zone:
- Zone 1: June1 – June 30
- Zone 2: May 1 – May 31
- Zone 3: May 1 – May31
- Zone 4: May 1 – May31
- Zone 5: March 30 – April30
- Zone 6: March 30 – April30
- Zone 7: March 30 – April30
- Zone 8: February 28 – March 30
- Zone 9: January 30 – February 28
- Zone 10: January 1 – January 31
- Zone 11 Frost Free Year Round
Step 2: Seeds or Seedlings?

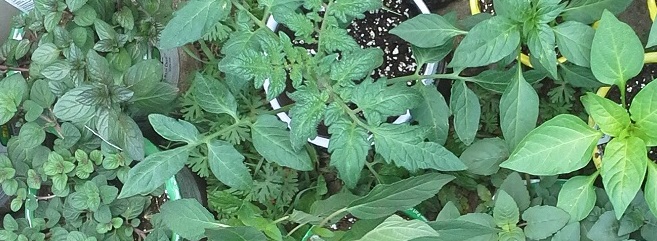
Of course it’s much easier to transplant seedlings sprouted from a nursery, but there are a few benefits to sprouting you own. You can be more selective of what kind of plants you’ll be ingesting (heirloom vs. open pollinated vs. genetically modified), as well as where they are from- and that really counts when you’re talking about flavor. If you do decide to sprout your own seeds, you’ll want to do that now so they have time to germinate while you prepare the soil for your cocktail garden- but if you decide to go with seedlings you can skip to step 3. I always start seeds in smaller containers- they hold moisture better, are easier to water, and are easy to move inside if there is threat of a frost. When deciding which plants to buy/ sprout, it’s totally up to you- keep in mind that most herbs and vegetables common in cocktails (rosemary, basil, lavender,mint, tomatoes, peppers and beets) require full sun, while a few (like oregano and thyme) and get away with partial sunlight during the day- so make sure this factors in to your decision.
Step 3: Prep the soil

No matter what type of soil you have (clay, rocky, loamy), you’ first have to make sure it is free of weeds and turned well. Using a garden hoe to break up any clumps of dirt and create more air space will ensure that the roots of your plants will be free to spread out and allow them to grow faster and larger. Above is a great example of well turned soil- ts should be so light and fluffy that you sink when stepping on it. Here is a picture of what it looked like to start off with- to give you better idea:

Now that you’ve got the basics on how to start growing your cocktail garden- send us some pics via Instagram by tagging #CliqueShots and #CocktailGarden while we get ready for “Growing A Cocktail Garden: Part 2“!